Custom images add visual interest to marketing and social media campaigns and capture the attention of your audience. Including an image with your social media post has the potential to increase the number of shares, retweets or likes by three times. Visual content also makes viewers more likely to remember information. While people remember only 10% of information they hear on average, they remember 65% of that same information when it’s paired with a relevant image. However, 23.7% of content marketers say that design and visual content is their biggest challenge.
To make the best social media graphics without a degree in graphic design, consider Canva your best friend. Unlike high-powered platforms like Adobe Photoshop, Canva has a simple intuitive interface that makes it easy for beginners to use. Read on for a step-by-step guide to creating a custom graphic with Canva.
Start with your strategy. Is this graphic part of a series of graphics? Should it align with your brand’s style, such as colors, fonts or other elements? Plan out the content, including the text, any logos or important images, and rank them in order of importance. This will come in handy when deciding the hierarchy of your graphic.
Now that you’re ready to start creating, begin by choosing the right dimensions. Unless you want to choose custom dimensions, Canva allows you to choose from pre-set dimensions for different social media platforms and purposes, including posters, website graphics, brochures and cards. Then, you can decide whether to design from scratch or use one of Canva’s many templates.
Browse templates by searching key words like “holiday,” “birthday” or “announcement.” Choose a template based on the type of content you want to include. For example, if you want to create quote graphics, look for quote graphics that include space for longer text. If you have an image you would like to feature, look for templates that bring your image to the forefront.
Once you have chosen your template, you can edit it to your needs. These templates are meant to be a source of inspiration and a springboard for your design, not necessarily the final product. Here are elements to edit and some tips for making the graphic your own:

Make sure to choose a template that can fit the amount of text you need to include. Delete Canva’s example text and type in your own. Make sure to match the importance of your text to the size of the font. For example, for an event announcement, you could display the title of the event in the biggest font and add details like time and place in a smaller size.

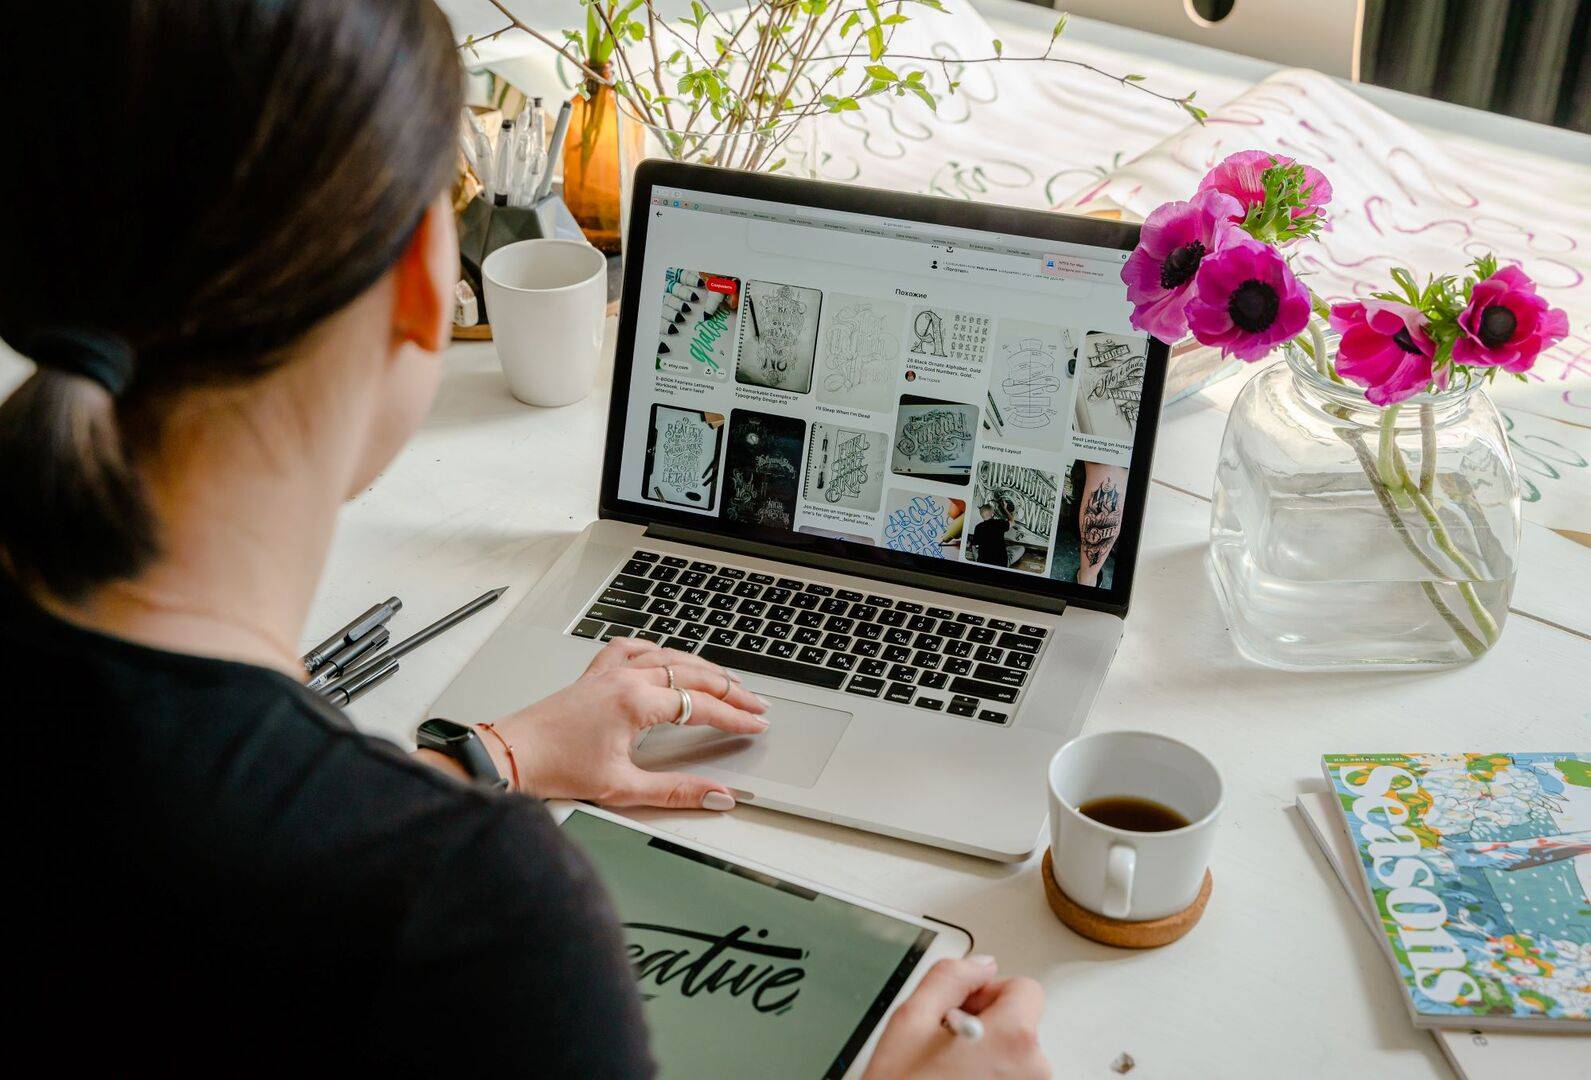
Replace any images in the template with ones that suit your topic. You can upload your own images, or search Canva’s image library by typing in keywords related to the topic of your graphic. Once you’ve found an image that fits your goal, drag and drop into the image you would like to replace. If you are unsatisfied with the brightness or coloring of your image, change it with a filter. You could even add a custom filter across all graphics in your series to create a cohesive look. Once all of your elements are placed, you may need to rearrange them to fit correctly.

Make sure to stick with a consistent set of colors to avoid making the image too busy. Choose the colors that fit your intended tone or your brand colors. One great feature on Canva is that it prepopulates key colors from the images in your graphic for you to select if you want to match your text or other elements to a logo, for example.
If none of the templates are quite right for your needs, Canva also makes it easy to create a design from scratch. Follow these steps to create your own:
Choose a color or photo as a background. When choosing an image for a background, make sure there is not too much going on that it takes away from the text or key illustrations. Consider looking for images that add texture in the “Bkground” tab on the Canva sidebar. Your background should elevate the text, not take away from it.
Do not confuse your background image with a feature image. A feature image, unlike a background, is the focus of the graphic. It should capture the viewer’s eye. To add a collage, use the “Grids” in the “Elements” section with pre-made layouts where you can insert images by dragging and dropping. You can flip, crop, resize or filter your images to help with layering text on top of the photo.
When selecting and placing your elements in the graphic, your overall goal should be to create balance. If you place an image on one side, balance it with text or another element on the other side. Don’t overcrowd one section while leaving another empty. In general, avoid overloading the graphic and keep it simple so the message does not get lost.
It’s also important to keep in mind the visual hierarchy of your elements. Look back at your content plan and how you ranked the elements in order of importance. You want to make sure the viewer’s eye travels where you want it. Since we read from top to bottom and left to right, you can place the principal element at the top or on the left of the design. Additionally, you can make the element the biggest on the page, or in a contrasting color to the rest of the design.
Next, negative space, or any area free from text images or design, can be used strategically to create grouping, add emphasis and improve legibility. Be sure to line up your elements with Canva’s helpful purple lines to make sure they are justified or centered to your liking.
Don’t let yourself get carried away searching for the perfect font for hours. Try using “Styles” to choose from a preset selection of colors and fonts to make sure your design is visually appealing. Whether you choose your fonts separately or in Canva’s “Styles” tool, make sure your font conveys the right tone. For example, a font that looks like a child’s handwriting in crayon would not work well with a professional event invite.
The most important thing to consider when choosing a font is whether it’s legible. Don’t use overly complicated fonts that can detract from your message. Additionally, the general rule of thumb is to never use more than two fonts in your image.
If you’re feeling confident in your Canva skills and are ready to up your game, try out some of the more complex features on Canva. Add a graph to visually demonstrate data or a statistic in the content you’re sharing using the “Charts” tool under “Elements.” You can also animate your image or specific elements in your design. Select “Animate” for a list of pre-set animation options to choose from and change your image from a still photo to a GIF or video. Animated icons, or “stickers,” can be found under “Elements” to add fun moving designs to your graphic, too. Go a step further by adding a stock video or music.
After finishing your graphic, click the “Share” option to send the design with your team members to view and edit. Now, you’re ready to share your image or video across social media channels, add a custom banner to your website or social profiles and more.
Interested in featuring custom designed content within your social media program, e-newsletter or another channel? Contact us today to learn how Mulberry can help your B2B brand bring messaging to life through graphic design.
Theresa Colston is an Account Coordinator at Mulberry Marketing Communications, an award-winning full-service B2B communications agency based in Chicago, London and Australia. She enjoys developing creative marketing ideas and building connections to drive results for clients.